12/19/2015
11/25/2015
DIY Leaf Pillow
11/25/2015I know this is a little bit late going up, but I still really wanted to post it because I think it is such a cute accent pillow for a room o...
I know this is a little bit late going up, but I still really wanted to post it because I think it is such a cute accent pillow for a room or home. It's also probably one of the easiest pillows to make and inexpensive as well. I decided I will still post this, even though I am putting it up when everyone is taking down fall decor and putting up winter/Christmas decor, because you could make this a winter pillow if you use like a snowflake or tree instead of a leaf. I think a snowflake one would be really pretty and perfect for winter! So you can take the idea and really customize it to fit whatever season or style you prefer! My mom made this pillow for her bench on her porch and I thought it was so pretty so she showed me how she did it and it's so easy!
What you will need
- Pillow Form
- Place mat
- Fabric Glue
- Pillow Cover
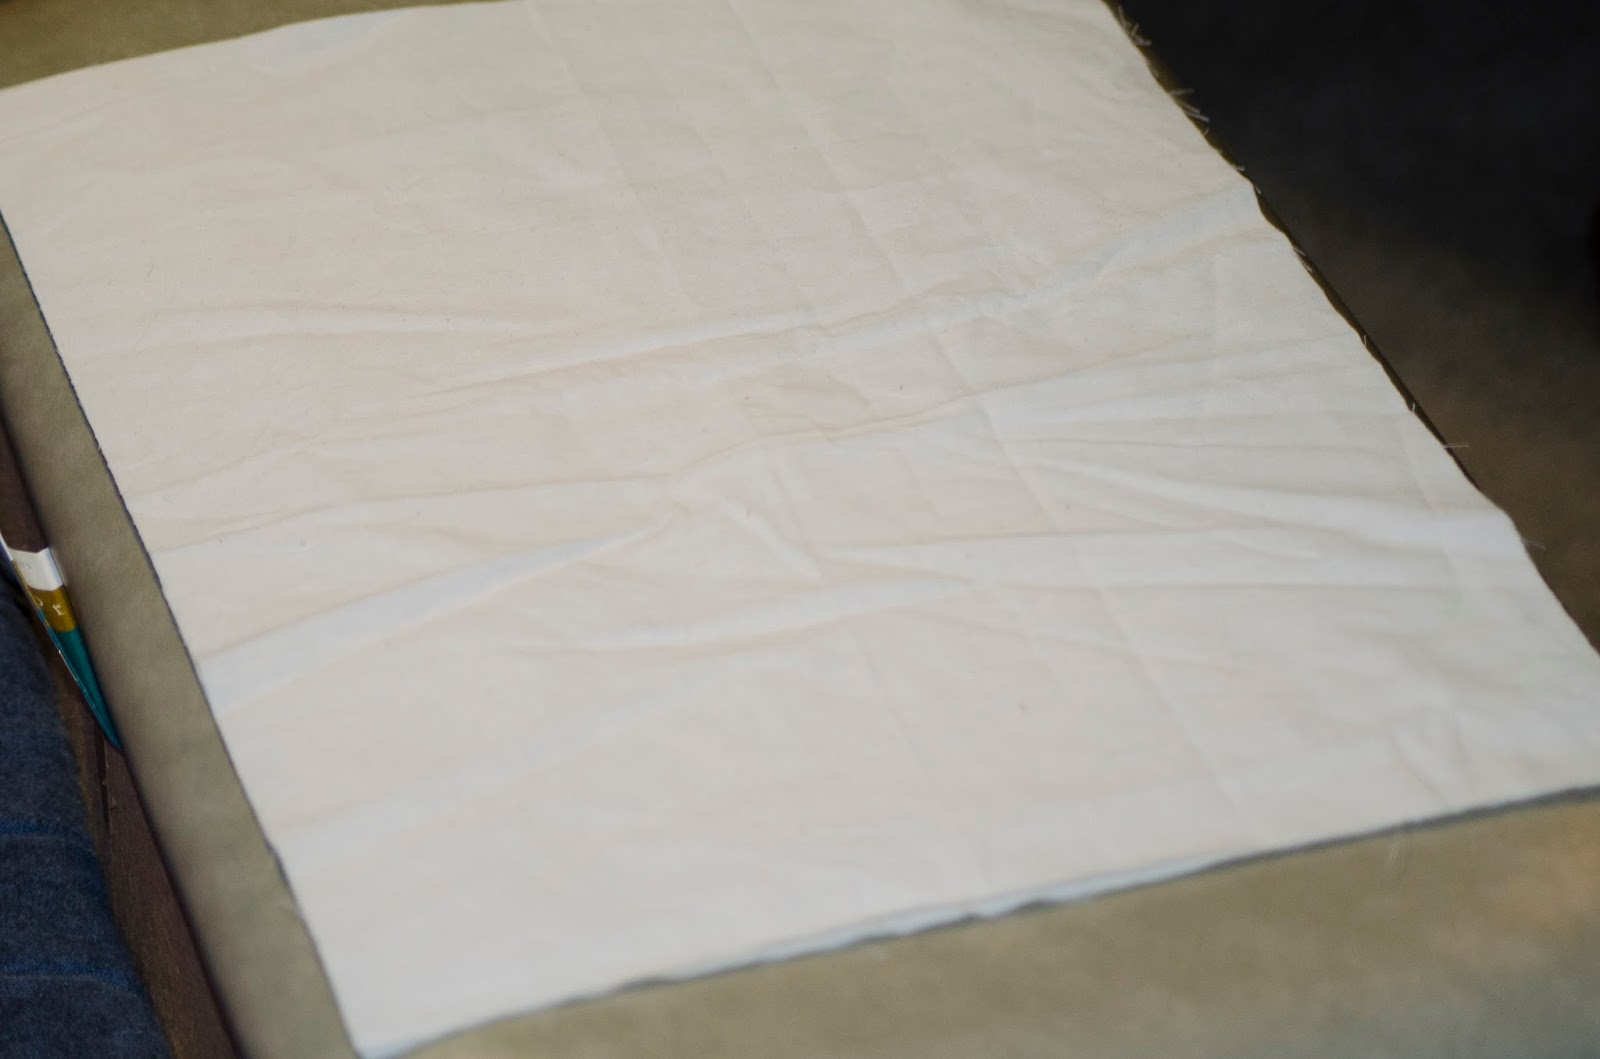
To make a pillow cover is really easy and making a removable one means you can easily switch out a pillow when the seasons change. To make it all you need to do is cut the fabric (mine is made with muslin) just a few inches larger than your pillow form. Then just sew all of the sides up except for one and on that side place Velcro on it so you can easily take it on and off the pillow form.
Now to start the actual Leaf Pillow, you just need to get a cute place mat like this leaf one that I purchased from WalMart.
Then just flip it over and start to apply some fabric glue. I found it easiest to work in sections like doing a third of the leaf and then gluing it down then lifting up another section placing glue then sticking it down and so on.
Then just flip it over and start to apply some fabric glue. I found it easiest to work in sections like doing a third of the leaf and then gluing it down then lifting up another section placing glue then sticking it down and so on.
Let the glue completely dry for a few hours and then you can put the cover on the pillow and you are done!
12/01/2014
DIY Joy Pillow
12/01/2014I saw this Joy Pillow at Target and I thought it was perfect for the holidays. I went back to buy it but it was sold out. I figured it ...
I saw this Joy Pillow at Target and I thought it was perfect for the holidays. I went back to buy it but it was sold out. I figured it would be easy enough to DIY and I could do it for cheaper also. I ended up only spending about a dollar for the sequence fabric and a dollar for the pillow at a thrift store. For the pillow you could use an old pillow, find a pillow form at a craft store, or for a cheaper option head to a thrift store and buy a pillow there. You will cover it so it doesn't matter what type of pattern is on it.
 |
| Target Joy Pillow |
What You Will Need:
- Rectangle Pillow
- Muslin
- Gold Sequin Fabric
- Fabric Scissors
- Fabric Glue or a needle and thread
Next I made my Pillow cover. I measure the muslin to the Pillow and left a half and in for the seam. then either useing fabric glue, hand sewing, or a sewing machine, sew all the sides except one small side.
Then is time to cut the sequin fabric. I could not find gold sequin fabric at any craft store so I ended up buying a fabric that was similar. When I got home I decided to check out Amazon and of course I found the fabric I wanted but I had already bought the other one. If you would like a more exact sequin fabric, check this one out here on Amazon. I tried cutting out the letters by just pinning cut out letters on paper but the fabric was very thin making it hard to cut. I ended up using heat n bond to cut them out. I ironed it on the back of the fabric then traced the letters on backwards (Make sure to trace them backwards!). Then I cut them out, removed the backing and ironed them onto the pillow case.
After I place the letters where I wanted them I pinned them to the fabric and then flipped the pillow case inside out. I wanted to iron on the back to make sure I didn't melt the sequin. Then I flipped it back right side out and put it on the pillow! To finish the edge you could hand stitch it but I decided to be lazy and use some fabric glue.


