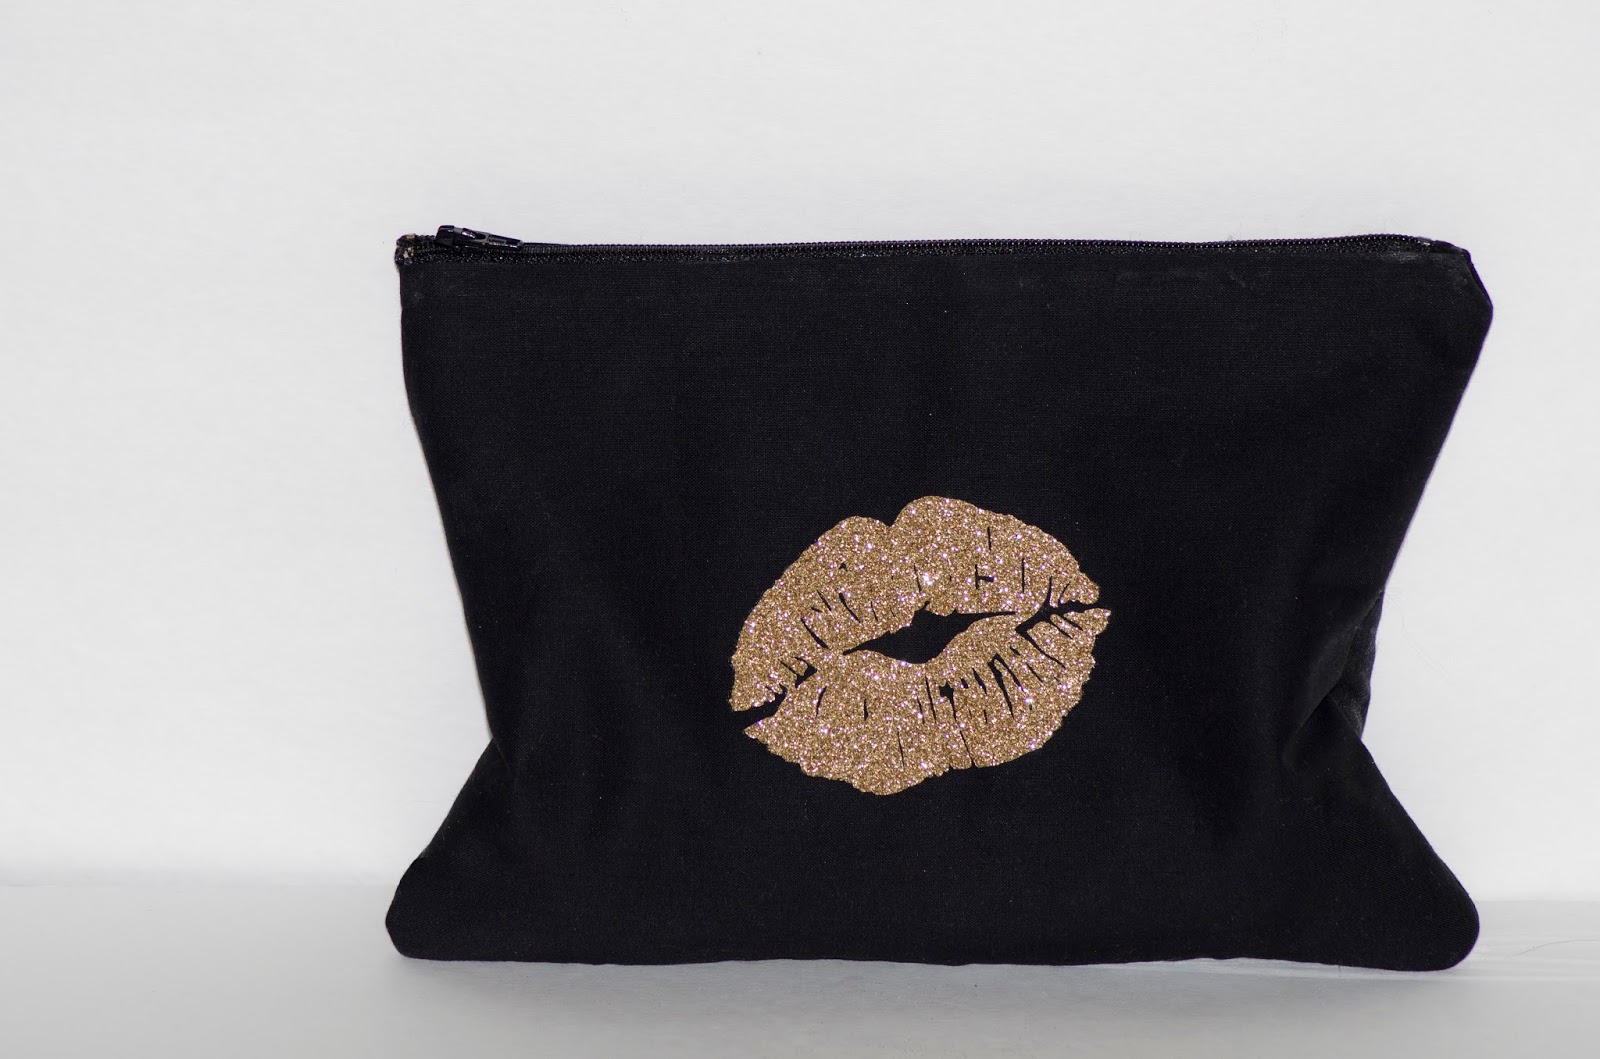
I absolutely love how these bags turned out! They are really easy to make and they don't take a lot of time. They are fun because you can customize them however you want and I also think they would make a really great gift for somebody! These are really nice for traveling and organizing your makeup and jewelry. They are also nice for putting in your purse to organize your things!
 |
| You will need fabric and also some felt to be used as the inside liner. I just used black felt for both bags. |
To start, measure out your fabric to your zipper and cut a large square of you fabric and felt. Then cut out two small strips of the fabric and glue it onto the ends of the zipper to create a cleaner neater look when it is all finished.
Next, take your fabric and iron a flap down. This will make it easier when attaching the top of the fabric to the zipper.
Then glue the felt to the back side of the zipper. It is very important to make sure you are doing this on the back size of the zipper because the felt is going to be on the inside of the bag when it is all finished. I attached this using glue because it made it really easy but you could also use a sewing machine to do this.
After you glue the felt, flip it over and glue the fabric to the zipper on the front side. By ironing the flap down you will hide the edge of the fabric so there won't be any fraying and it will look like a clean edge.

Once the glue is completely dry you are going to sew all the edges together. Make sure you do this with fleece sides up. Fold it in half so the fabric is on the inside and the fleece is on the outside and either glue all the edges together or sew it which is much easier and faster! Once sewed or glued shove it back through the zipper so it is right side out.
Lastly I used the Glitter iron on paper and ironed on some wording and shapes. I cut these using a cricut cutter. If you don't have one I put a link above to some iron on letters that you could use or you could also cut out a shape to use or some stripes! Then you are done!


0 comments